
counting sheep

Monday, December 31, 2012
Happy New Year to all my blogger friends. I am sorry I have not posted much lately. Business never seemed to stop over the Holidays. I am toasting everyone that this year will be the best year for sewing, crafting and decorating you ever had. But most of all I hope for all of us that we take time to stop and think of others who need our attention and help and that we are more inclined to be there for others than ever before!
 CHEERS!
Wednesday, October 31, 2012

Tuesday, October 30, 2012
Got the bedskirt did... and some of the mural walls done.
 Hard to tell in the photo but it does match the curtains. Outside we are getting just a taste of the storm, some very cold rain and I think we had flurries this morning. It looks sunny but its far from it. Anyway I had enough of the fabric left to cover some pillows across the top of the bed. The grand cost for the curtains, bed skirt and pillow cover? $3.00, yep that's right, fabric from a garage sale this summer. A quilter was getting rid of all her homespun and I snapped it up. Maybe she is into burlap now, who knows. I am not much of a burlap fan yet. I really didn't even notice the big hoopla about burlap till just the other day. Not sure where I was when it became popular. I still need to buy a rug or two and I have an old wood trunk I want to paint for the foot of the bed. I saw one on Pinterest that I kinda would like to copy. If I get it done I will try to post.
Now... don't judge too harshly my mural, its been a long time since I painted pictures of anything! lol

 My Jack Russell keeps going over and smelling the cat on the wall...
 This wall is starting to lead to the stairwell, do you see my Jack Russell rendition, her head and front paws are after a rabbit, all that is sticking out is her feet and her little waggy tail.
 The wind is even blowing in the mural!
Now this is the landing and I just had to do one more log wall!
 I still have to paint a mural from the landing down to the dinning room yet, will post when its finally finished, hopefully before Thanksgiving!

And last but not least I finally did all I could to the bathroom, its big enough to use and take a bath in and that's about it! lol I did finally get the curtains made, I am sure the neighbors are relieved!
LASTLY, I am praying for all who are in the way of this awful storm. May the Good Lord keep you ALL safe!
Friday, October 19, 2012
The end tables on treadle irons.
 Not the best pictures ever but wanted to show you my end tables husband made. He used two old treadle irons, a Singer and a White. Its hard to tell in these photos but the red matches the red in the wall stencils. They will look better when I finally add lamps (still waiting for those to get made.)
 I glazed the top and added a couple coats of poly. I think I want hubbs to drill a hole in the corner for the electrical cords.
 I was thinking they would have a dry sink look but now I think its more of a buggy seat look.
So now I am working on the mural in the hall and stairwell and one of these days I will have pictures of that. Once all this painting is done I am going to my sewing room and stay there, yes I am...
Bathroom "bout done."
Pictures of the bath, still a few little things to do.

 Red and caramel blocks painted with Latex paint, stenciled stars then aged with an umber glaze, plus 4 coats of water soluble poly.
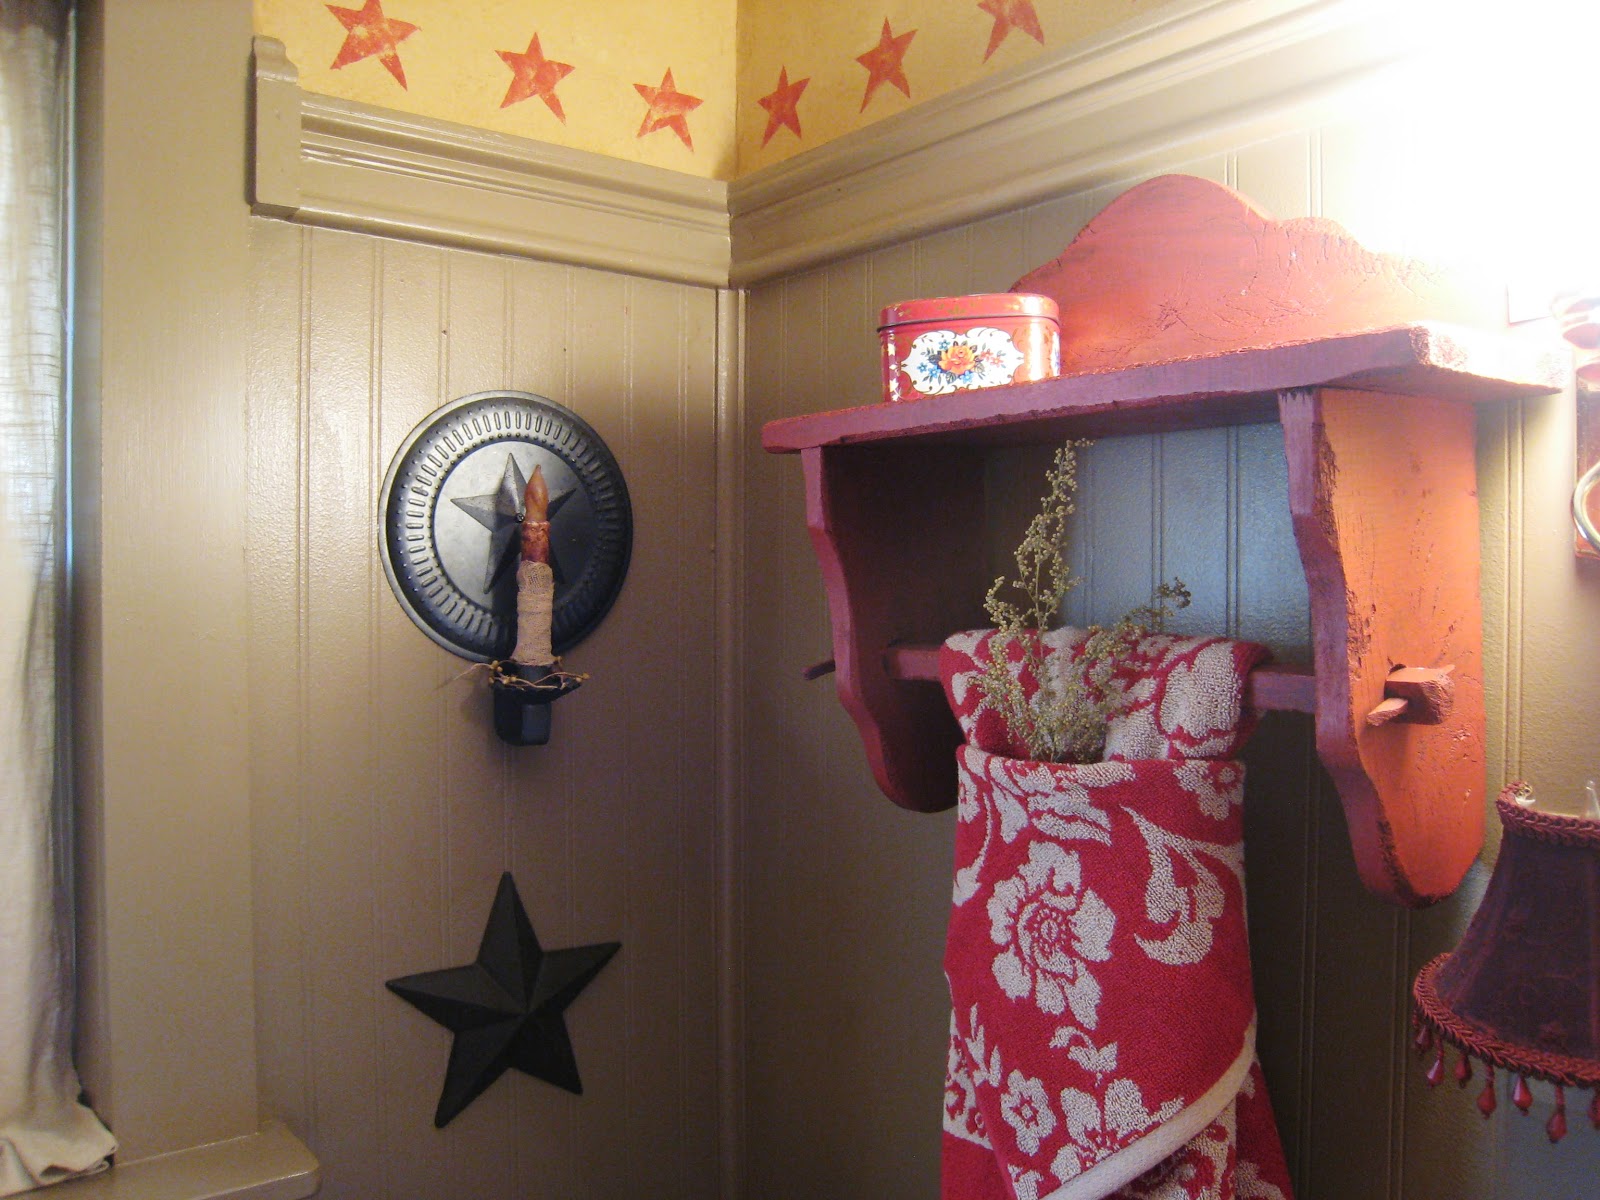
Caramel on the wainscoting, light caramel on the walls with red stenciled stars and then aged with glaze.
 Walmart towel with a sprig of Sweet Annie tucked in, old shelf from an antique mall, it was blue but I added some red paint.
 My cabinet that holds all the usual bathroom stuff got a coat of red paint and glaze too. A bucket and some boxes for added storage.
 An aged linen curtain and candle in an old cheese box.
 Made the shower curtain by hemming some homespun and attaching to a liner, that way I didn't have to make the grommet holes but did have to figure out a little pleating. Red star hooks I bought on eBay.
 And there you have it, I have enough homespun left to make a matching window curtain but I kinda like the linen one, oh yeah I first hung some grunged cheesecloth over the window for some added privacy.
We still need to take the lights off and spray them with a pewter paint and change the sink fixtures and buy more towels in red and brown!


 Walmart towel with a sprig of Sweet Annie tucked in, old shelf from an antique mall, it was blue but I added some red paint.
 My cabinet that holds all the usual bathroom stuff got a coat of red paint and glaze too. A bucket and some boxes for added storage.
 An aged linen curtain and candle in an old cheese box.
 Made the shower curtain by hemming some homespun and attaching to a liner, that way I didn't have to make the grommet holes but did have to figure out a little pleating. Red star hooks I bought on eBay.
We still need to take the lights off and spray them with a pewter paint and change the sink fixtures and buy more towels in red and brown!
Tuesday, October 16, 2012
Installment #2 Here is our bedroom.
I have just about finished our bedroom. We installed new crown molding (we had to because of the ceiling tile, added a chair rail, made new curtains (quilt still in progress). Husband built faux mantle number 4 for the primitive flat screen (he he he). We added a little electric stove to the fireplace.
 See the center piece of the mantle just above the stove? That is the bottom of an old dresser drawer...
 Curtains I made from plain old muslin and behind them covering the window is grunged cheesecloth.
 Pictures of my little grand babies, nothing I could do with the old fuse box till Hubby builds a little cupboard to go over it.
 This chimney runs all the way down into my kitchen, it was so hard to get the crown molding on it to stay, we used liquid nails and a lot of prayer...
 I still have a lot to do, need to make bed skirts for both beds yet and finish the hallway which I am going to try and do a mural.
 Our little stove was $99 at Menard's. It heats 400 sq feet of space which is plenty big enough for our bedroom.
 The door leads to our laundry room which is rare in an old house like this. It was a closet when they built the house but when we bought it there was a half bath in it. Hubby decided I might get hurt running down and up all the stairs to do laundry so he made it into a laundry which is quite convenient.
 I still do not know what to hang over the bed. This door is our clothes closet. The end tables have been made since I took the photos, will post a picture of them soon. I have a bow tie quilt in the works in blues and cream for the bed. I do have a big long quilt rack shelf that I could hang over the bed.
 Another view.
 I am real proud of these, they were kinda messed up so I painted them with a pewter color. I got them at a local antique store for $16 each! I thought that was a heck of a good deal.
 The stencils I bought at Joann's. I still need some throw rugs and a set of lamps. I really would like to have some primitive lamps but the prices are way too high for me, not sure what I will get yet.
Anyways since these pictures I have just about finished the bathroom so that will be my next post. Have a great fall day!
Saturday, September 15, 2012
Faux Log Walls in the guest room...

Hello! I have been so busy and still am but have one part of my project done that I wanted to show you. Its our guest room in the front of the upstairs. Loving the primitive and colonial look my husband made me one wall of fake logs. We used pine boards from lows and sheet rock compound for chinking.
I did the chinking, it was super easy to do then I stained it a little with a glaze to age it somewhat. The colors I used for my room are caramel on the walls and claret red on the woodwork and floor which also got some brown glaze on top of it to give it an older look
 I have a feather mattress on this bed and my little Jack Russell loves to snuggle in it. Soon I will cover this with a my square in a square quilt I am making, hopefully before the snow flies.
 An old iron bed we bought in NW Indiana at an antique store. I still have to make the bed skirt to match the curtains. A little ladder we found in some junk shop here in town. I still want to add a bonnet plank above the ladder to hang bonnet's and such on.
 I love the way the log walls tuned out. We only did the one wall but it was enough for the effect we wanted.
 A doll I made setting on top of another garage sale quilt shelf. And one of my tiny quilts I made used as a little doiley I guess. This quilt is called the anvil pattern but you can't tell it very good in the picture.
 My little ironing boards and irons all from auctions around town. Some little quilts I made strung here and there.
 This is the first faux fireplace mantle my husband ever built, he still has one more to do to his dismay....
 This old cupboard was a wreck and found in my Sister's garage so I rescued it and gave it a little paint too. The glass was broke so hubby put in some seeded glass.
 Two dollar is all I paid for the old wood tool box and I tried to give it an old painted look, also did the same to the baby shoes. I covered some boxes from Hobby Lobby with some of my quilt fabric and then stained and sanded to make them look aged a little. I should be getting my tarts I ordered in the mail soon, cinnamon bun which I think smell the best!
 I paid one dollar for this at a garage sale and repainted it to match the woodwork.
 I saw something like this on Pinterest and hubbs whooped one up for me! Its just an old ham crate with four board legs from a pallet.
. Even though our home is almost 100 years old it needed some character. We still are doing the bathroom and our bedroom so more pictures of my project in two or three weeks. See ya then!
Tuesday, August 7, 2012
Using Grace Pattern Perfect Stylus with Hinterberg Orig. Frame
Ok, so me hubbs made a piece so I could finally use my Grace pattern perfect. I like it but I want more I guess and am thinking pantographs are gonna be the way to go. I have a laser stylus coming and have ordered one panto to try. Will post when it comes and I get to try it out. But here is the hook up the hubbs made. (ignore the ugly quilt top, its a practice top from an auction)
 the stylus is fastened into a metal piece that he bought at the hardware store. he drilled holes in it and use small short screws to secure it to the wood piece the machine sits directly on. I used a non slip shelf linner to keep the machine from dancing around.
 the white tape under neath is covering some wood blocks that are just sitting under to give the stylus a little more stability.
 this photo shows the bolts with the nuts, be careful that they don't scratch the machine, I have a piece of velcro stuck to my machine in that area just in case.
 I think I have a little goth inside of me somewhere... lol
 my apron keeps me from walking back and forth so much.
 here is a long shot.
Monday, August 6, 2012
Love this...
I found this Juki machine add on youtube and I just thought it was a nice way to show off the Juki. I have a Juki 2000 and I love it. I have sewn on just about every old Singer model there is and some new ones too (love the old Singers) but my Juki I have a relationship with!
http://youtu.be/DbqBllIxTf8
http://youtu.be/DbqBllIxTf8
Do you use a Hinterberg Orginal Quilting Frame?
If you are using a Hinterberg Original quilting frame to long arm quilt are you using pantographs? If you do use pantographs where are you placing your laser stylus and what kind of laser stylus are you using? I would love to see photos and here from any and all users that are using a Hinterberg original frame. I had purchased the Grace perfect pattern boards and stylus. We had a heck of a time getting the stylus on the Hinterberg! My husband had to build a part to get it to fit! I have searched and searched the web looking for pictures of Hinterberg frames with any kind of stylus on them. I do find a wooden stylus that comes with the stretch frame but do not see anywhere to order one, not even on the Hinty site... I also have purchased the Grace laser stylus and am hoping that I can get it on the carriage some place without having to make the hubs build a special part.
Thursday, August 2, 2012
Self Binding Receiving Blanket..


 Try it, its way easy and its a fun way to make a quick baby shower gift! And have a great Thursday!
Subscribe to:
Posts (Atom)